How to Turn an iPhone Into a Dumbphone: 6 Free Steps
By Finn Albar
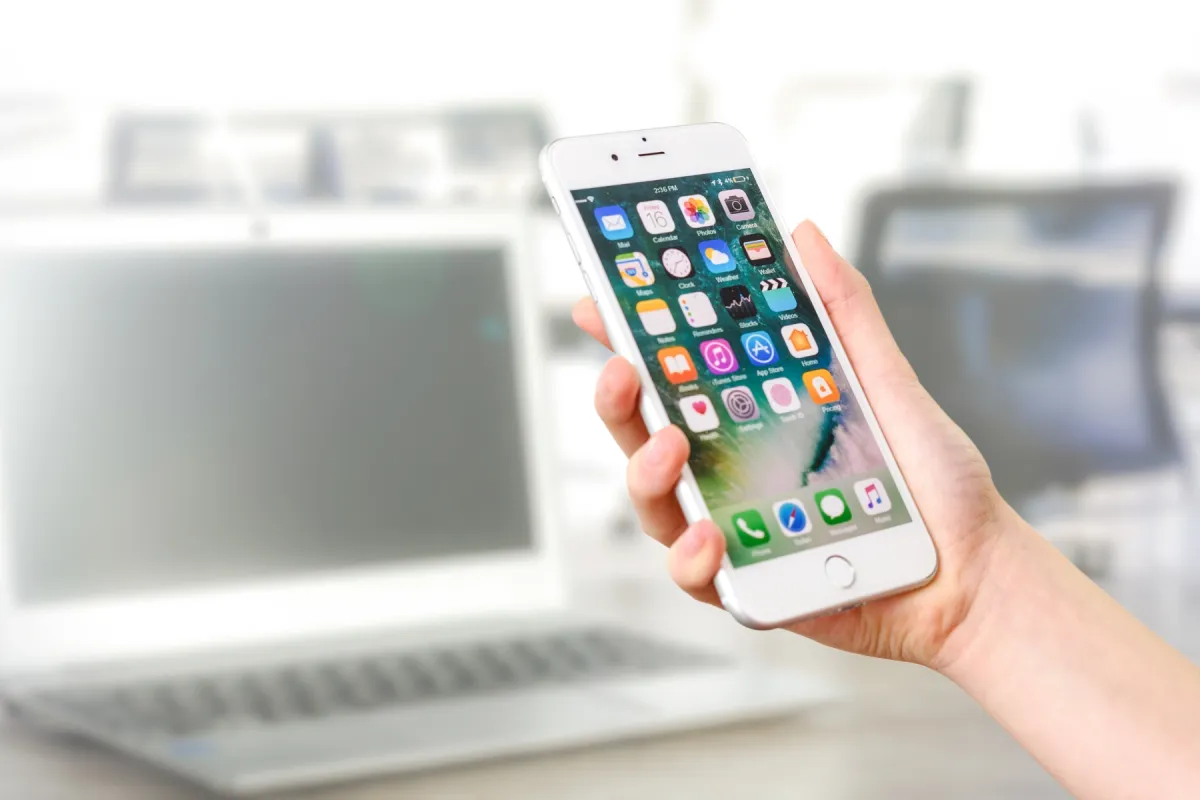
You can turn an iPhone into a dumbphone with settings Apple already builds in, with no new phone and no paid app. The strongest one, Assistive Access, shrinks the iPhone to a few large buttons and puts every other app behind a passcode.
This suits you if you want a quieter phone but still need your number, your camera, and a few apps such as maps or your bank. The six steps run from lightest to strongest: the first four undo in seconds, and the last two hold best when someone else knows the passcode.
These settings are the first rung, below a blocker app or a new phone. How to make your phone less distracting lays out the whole ladder. If they do not hold, the best dumbphones remove the open app store, and on Android, the best minimalist launchers are the place to start.
Six ways to turn an iPhone into a dumbphone, lightest first
Each step hides something different, and each one is harder to undo than the last.
- Scheduled Summary holds alerts from the apps you pick until set times. One switch turns it off.
- Grayscale drains the color from icons, badges, and feeds. A triple-click brings color back.
- One Home Screen page leaves a few apps in view. App Library still holds every other app, one swipe away.
- A Focus silences all but the people and apps you choose and swaps in that one page. Control Center turns it off.
- Screen Time caps app categories, sets a daily schedule, and blocks built-in apps. A passcode someone else holds makes it stick.
- Assistive Access replaces the whole iPhone interface with the apps you pick. Its own passcode gets you out.
Stack them in order and stop when the phone stops pulling you back. We would give the first four a week before adding Screen Time or Assistive Access.
Step 1: batch notifications into a scheduled summary
Notifications are the lightest thing to change, because the apps stay the same and only the timing moves. On iOS 27, Scheduled Summary delivers notifications from several apps at once, at times you set.
- Open Settings, tap Notifications, then tap Scheduled Summary.
- Turn on Scheduled Summary and set one or more delivery times.
- Tap A to Z and turn on the apps whose alerts can wait.
For apps you never need to hear from, go further. In Settings, tap Notifications, tap the app, and turn off Allow Notifications.
Leave anything time-critical out of the summary, such as your bank’s fraud alerts, rides, and calendar reminders. A late alert there costs more than an interruption. To undo the whole step, turn Scheduled Summary off again in the same menu.
Step 2: turn the screen gray with Color Filters
Grayscale changes nothing about what the phone can do. It only makes red badges, bright icons, and photo feeds look flat. The Grayscale color filter shows the entire screen in shades of gray.
- Open Settings, tap Accessibility, then Display & Text Size.
- Tap Color Filters, turn on Color Filters, and choose Grayscale.
Then make it easy to switch. Go to Settings, Accessibility, Accessibility Shortcut, and select only Color Filters. With one feature selected, a triple-click of the side button, or the Home button on iPhones that have one, turns it on or off at once.
The cost is color where you need it. But color filters can change the look of images and videos, so a photo or a color-coded transit map can be harder to read. Triple-click, check it, and triple-click again.
How to make your phone black and white shows how to put grayscale on a schedule and keep color for Camera and Maps.
One conflict matters later. Assistive Access uses the same triple-click to exit. While it is active, the shortcut cannot turn on other features.
Step 3: cut the Home Screen to one page
One page with a few tools on it is the core of the dumbphone look. Pick the apps that do a job: Phone, Messages, Camera, Maps, Wallet, and Calendar cover most days.
- Move the rest off. Touch and hold an app, tap Remove App, then Remove from Home Screen. The app moves to App Library and still works from there.
- Hide the extra pages. Touch and hold the wallpaper until the icons jiggle, tap the dots at the bottom, and clear the checkmarks under every page but one.
- Keep new apps off it. In Settings, tap Home Screen & App Library and choose App Library Only.
- Hide the apps you downloaded. Touch and hold one, tap Require Face ID, then Hide and Require Face ID, then Hide App. It moves to a Hidden folder that needs Face ID, Touch ID, or your passcode.
There are two limits. You cannot hide the apps that come installed, and App Library is always available, one swipe left of your last page.
Undoing it takes seconds: check the pages again, or reset the layout under Settings, General, Transfer or Reset iPhone, Reset, Reset Home Screen Layout.
Step 4: build a Focus for the hours you want quiet
A Focus joins the first three steps into one switch. It decides who can reach you, which apps can alert you, and which Home Screen page you see.
- Open Settings, tap Focus, tap the plus button, then Custom. Name it and tap Customize Focus.
- Tap People, then Allow Notifications From, and pick the contacts who should always get through.
- Tap Apps, then Allow Notifications From, and add Phone, Messages, and Calendar.
- Choose the Home Screen option and pick the one page you built in step 3.
- Tap Add Schedule to start it at a time, at a place, or when you open an app.
Two settings still let urgent calls get through. Repeated calls, an option under People, let a second call from the same person within three minutes ring through. Emergency Bypass, set on a contact’s ringtone, lets that person ring even when the phone is silenced.
A Focus filters alerts and the Home Screen, but it does not stop an app from opening. App Library still reaches everything. To end it, open Control Center, tap Focus, and tap the active one.
We think this is the best free setup for most people, and it is the closest iPhone match to a minimalist launcher.
Step 5: set Screen Time limits someone else locks
Screen Time is the first step that can take an app away. On iOS 27, its tools are Time Allowances and Screen Time Schedule, and they need version 27 or later on all your Apple devices.
On iOS 26 they are App Limits and Downtime. How to check and limit screen time on iPhone and Android has those steps, plus how to read your report first.
Time Allowances and a schedule
Open Settings, tap Screen Time, then Time Allowances, and turn on App & Website Activity if asked. Drag the slider to set a daily total, then tap a category such as Social Media or Entertainment to set its own time. Apps in a category then work until they reach the category’s allowance or the daily total.
To decide which kinds of apps work at which hours, tap Screen Time Schedule and turn on Schedule. Tap Add Schedule, pick the days, then tap a time window to rename it, change its times, and choose which categories it allows.
Always Allowed for what you cannot lose
Tap Screen Time, then Always Allowed, then Add Apps and Add People. These work regardless of any schedule or allowance. Add Phone, Messages, Maps, Wallet, your bank app, and your authenticator app, so a limit never locks you out of a payment or a sign-in code.
Block Safari and the App Store
Tap Screen Time, then Content & Privacy Restrictions, then Other Features, and block what you do not want. The examples include AirDrop and Camera. Safari and the App Store are not named for iOS 27, so check which switches your phone shows.
A blocked built-in app leaves the Home Screen until you allow it again, and nothing gets deleted.
This matters because Safari and the App Store are not on Apple’s list of built-in apps you can delete. If your phone shows them here, blocking them is the way to take them off the phone short of Assistive Access.
To block a single app instead, how to block apps on iPhone compares Screen Time with Guided Access, hidden apps, and Shortcuts.
Hand the passcode to someone else
Tap Screen Time, then Manage Screen Time, then Lock Screen Time Settings, and enter a four-digit code. From then on, you need it to change the settings you chose for yourself. Let a partner or friend type it, so you never see it.
Passcode Recovery resets the code with an Apple Account, and that account can differ from the one on your phone. So the person who holds the code can enter their own account, or skip recovery.
The cost is real. Every new app you want in Always Allowed now needs that person. Whether you can extend an allowance yourself once it runs out is not documented for iOS 27, so treat the passcode as the part that holds.
Step 6: lock the iPhone into Assistive Access
Assistive Access is the closest an iPhone gets to a dumbphone. Apple built it for people with cognitive disabilities: bigger buttons, fewer features, and the apps a trusted supporter helps pick. Used as a pause, it hides everything you leave out, including Settings and the App Store.
Set it up
Setup takes eight short steps. In brief:
- Open Settings, tap Accessibility, then Assistive Access, then Set Up Assistive Access, then Continue.
- Confirm that the Apple Account shown is yours.
- Add apps. Calls, Messages, Camera, Photos, Music, Magnifier, and Apple TV have versions made for Assistive Access, and most other apps work in their original design.
- Choose Rows for a plain list or Grid for big icons.
- Check your device passcode and Face ID.
- Set the Assistive Access passcode and, if you want, a recovery Apple Account.
- Tap Start Using Assistive Access.
You cannot add the App Store, so you exit to download anything. Leave Safari off and the browser is gone too.
Choose who can call and text
Calls joins Phone and FaceTime into one app. For both Calls and Messages, you choose to receive from anyone, from all contacts, or from favorites only.
Pick anyone unless you have a reason not to. Otherwise, you must exit Assistive Access to call, text, or hear from someone outside the allowed list. That would include a doctor’s office or a sign-in code sent by text.
What you give up inside Assistive Access
These differences are the real cost of this step:
- Permissions: apps do not ask for location, photos, or contacts inside Assistive Access. You set access during setup, so allow location for Maps then.
- Updates: there is no Settings app, so you exit to install a software update.
- Status icons: Assistive Access does not show the icons for network, Airplane Mode, Focus, or Bluetooth.
- Emergencies: a triple-click and Emergency still place a call without the passcode, and Crash Detection keeps working where available. Emergency SOS via satellite does not work until you exit.
Who should hold the passcode
To leave, triple-click the side button or Home button, tap Exit Assistive Access, and enter the passcode. If someone else sets it, you need them to leave.
Plan for a lost code, because without a recovery Apple Account, a forgotten passcode means you have to reset your iPhone. With one, the account holder can exit and reset the code. Resetting Assistive Access itself keeps your messages, music, and photos.
What still works: Wallet, codes, banking, and maps
Steps 1 through 4 change alerts, colors, and layout, not apps, so everything keeps working. The questions start at Screen Time and Assistive Access.
- Wallet and Apple Pay: add Wallet to Always Allowed in Screen Time. Support for Wallet and Apple Pay inside Assistive Access is not documented, so make a test payment before you leave your cards at home.
- Two-factor codes: text codes arrive in Messages, but in Assistive Access only if Messages receives from anyone. Add your authenticator app to Always Allowed, or to Assistive Access as one of its apps.
- Banking: treat the bank app the same way. Open it once inside Assistive Access, because most apps work there, not every app.
- Maps: add it to Always Allowed, and in Assistive Access give it location access during setup.
If a payment, a code, or a bank sign-in fails, exit and fix it at home. Do not find out at a checkout.
When an iPhone setup is not enough
Every step here leaves the App Store on the phone, at most one passcode away. If you keep asking for the code, or keep exiting Assistive Access, the phone is the next thing to change.
A blocker app adds friction without new hardware, and the best app blockers compares how hard each one is to switch off. To keep YouTube and drop only its Shorts feed, how to turn off YouTube Shorts covers what an iPhone allows.
For a firmer line, the best dumbphones have no open app store at all. If you want no browser either, see the best phones without internet access. If one messaging app keeps you on a smartphone, dumbphones with WhatsApp covers the phones that run it.
Before you move your number to a dumbphone
Turn off iMessage and FaceTime only when your number leaves the iPhone, not as part of the setup above. The path is Settings, Apps, Messages, turn off iMessage, then Settings, Apps, FaceTime, turn off FaceTime. You might need this step if a non-Apple phone is not getting texts.
How to switch to a dumbphone covers the rest, from contacts to porting the number.
Common questions
Can I turn my iPhone into a dumbphone for free?
Yes. Scheduled Summary, grayscale, Focus, Screen Time, and Assistive Access are all built into iOS 27 and cost nothing. They cannot remove the App Store from the phone for good, so whoever knows the passcode can bring everything back.
Does Assistive Access block the App Store and Safari?
The App Store, yes: you cannot add it, so downloading means exiting first. Safari is gone only if you leave it off the app list during setup. Other apps run in their original design, so an app you add keeps its own feeds and links.
How do I get out of Assistive Access?
Triple-click the side button, or the Home button on older iPhones, tap Exit Assistive Access, and enter its passcode. If you forget the code, a recovery Apple Account set during setup can exit and reset it. Without one, you have to reset the iPhone.
Is there a free alternative to a minimalist phone?
If you already own an iPhone, these settings are the free alternative, and Assistive Access comes closest to a dedicated phone. The difference is the exit: these settings come off with a passcode, while a dumbphone with no app store has nothing to return to. The Dumbphone Finder shows which phones keep the apps you need.
Can I turn an Android phone into a dumbphone the same way?
Not with these settings, because they are Apple’s. On Android, the closest match is a minimalist launcher, which swaps the home screen for a plain list of the apps you pick.
Final thoughts
Start light. Scheduled Summary, grayscale, one Home Screen page, and a Focus cost nothing, break nothing, and undo in seconds, so give them a week.
If you still open the App Library on autopilot, Screen Time with a passcode someone else holds is the step we would add next. Assistive Access goes furthest, but it hides status icons and updates and needs careful passcode planning. If you exit it every day, the iPhone was never the right phone for the job.